Automatic Taging
Description
The Automatic Tag feature empowers you to add labels to your assembly in a 3D Ortho View. You have the flexibility to choose the order in which these tags are displayed, whether numerically, alphabetically, or based on your preferred order family. This feature enhances the clarity and organization of your assemblies, making it easier to communicate and manage project components.

|
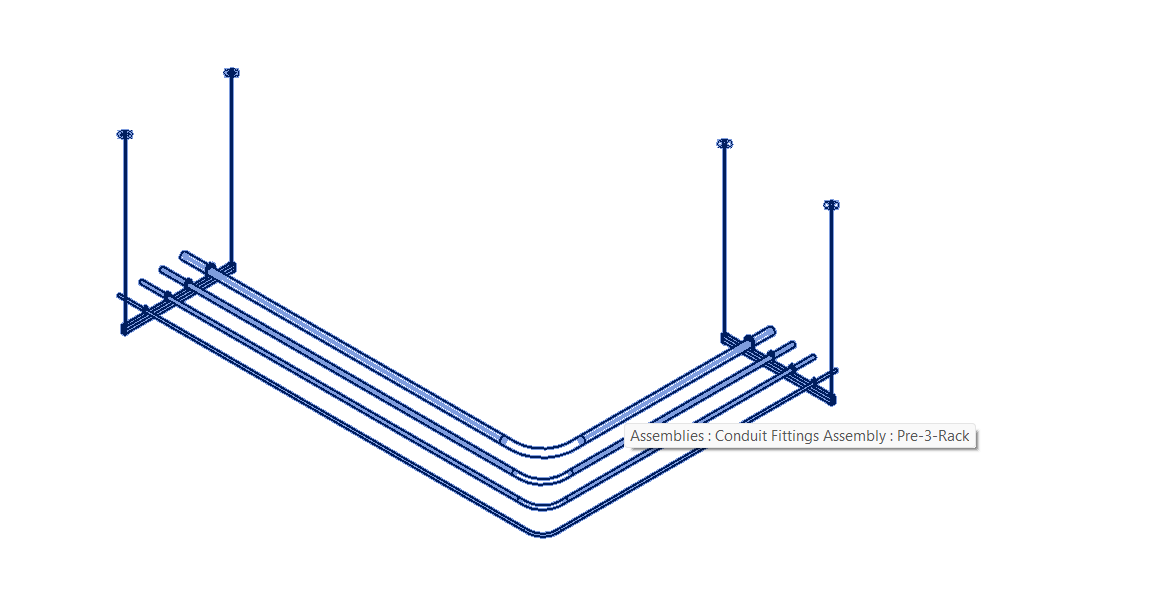
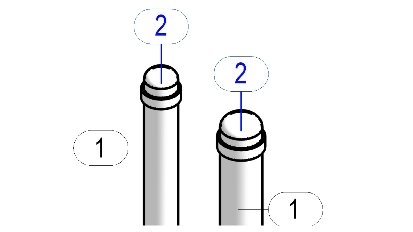
Before Using The Automatic Tags Feature (Un-Tagged Assembly) |
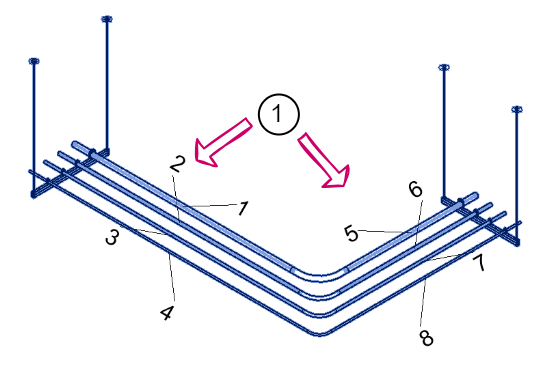
After Using The Automatic Tags Feature (Tagged Assembly) |
|
|
|
Step-by-Step Guide
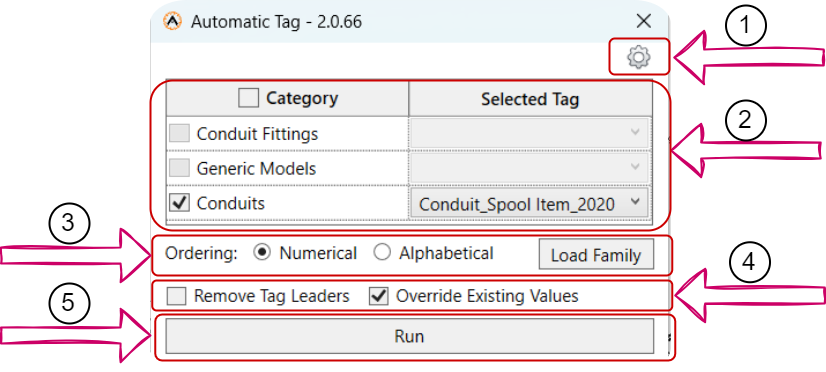
Click on the Automatic Tags icon, this icon opens a new window, enabling you to configure your automatic tag settings. Within this window, you'll find the following options:
- General Tag Settings: : Access general tag settings to further customize tagging. Detailed information can be found in the next section.
- Select Elements : Choose the elements you want to tag and select the tags associated with them.
- Define Order : Specify the ordering, whether it's numerical, alphabetical, or even load a family file.
- Customize Tags : Choose whether to remove the headers associated with tags or override any existing values.
- Start Tagging : Click the "Run" button to begin the automatic tagging process.
General Taging Settings
When you click on the setting Icon (1) from the previous diagram, this action will take you to the view/edit your general tag settings.
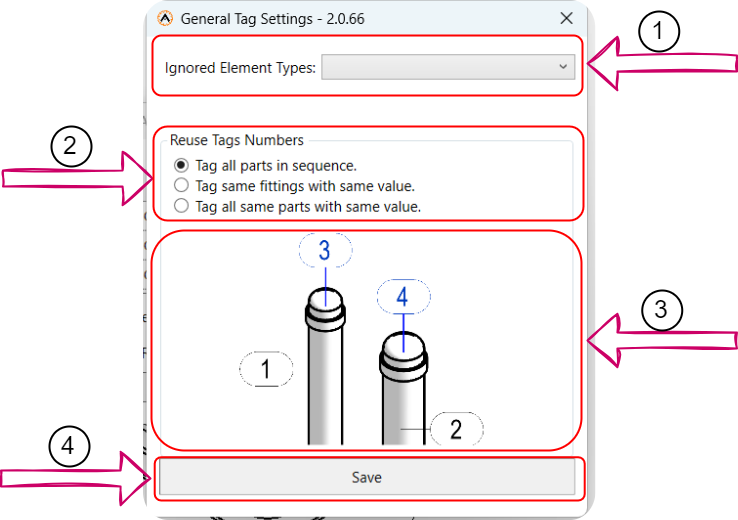
- Select Ignored Element Types: Choose which types of elements you want to exclude from tagging.
- Reuse Tags Number: This feature provides three choices:
- Tag all parts in sequence (default): Each part gets a unique tag in a specific order.
- Tag same fittings with the same values: Identical fittings receive the same tags.
- Tag all same parts with the same value: All identical parts share the same tags.
- View Diagram: You can view a supported diagram that illustrates the status of the "reuse tags number" feature.
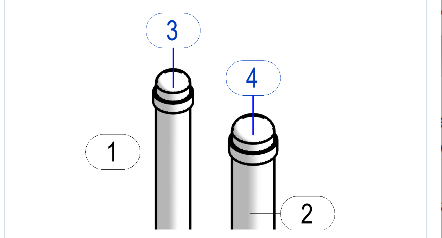
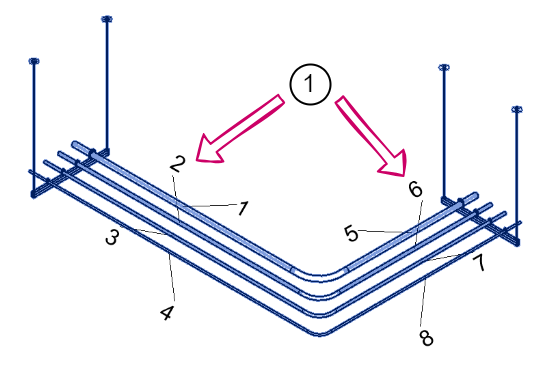
- Tag All Parts in Sequence Diagram
- Tag Same Fittings with the Same Value Diagram
 /
/
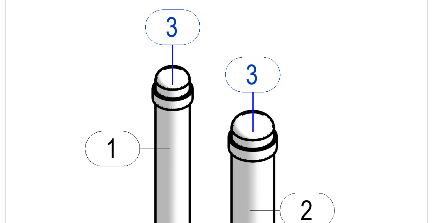
- Tag All Same Parts with the Same Value Diagram
- Save Settings: Click the "Save" button to save all your configured settings.
After configuring your automatic tags and clicking "Save," each part of the assembly will now be tagged according to your preferred order and choices.
Created with the Personal Edition of HelpNDoc: Easily create Help documents