Adding Couplings

Description
This feature enables you to seamlessly insert couplings into conduits where they intersect with a reference plane or model line. It ensures secure and precise connections, enhancing the integrity of your conduit layout. This tool simplifies the conduit design process.
Step-by-Step Guide
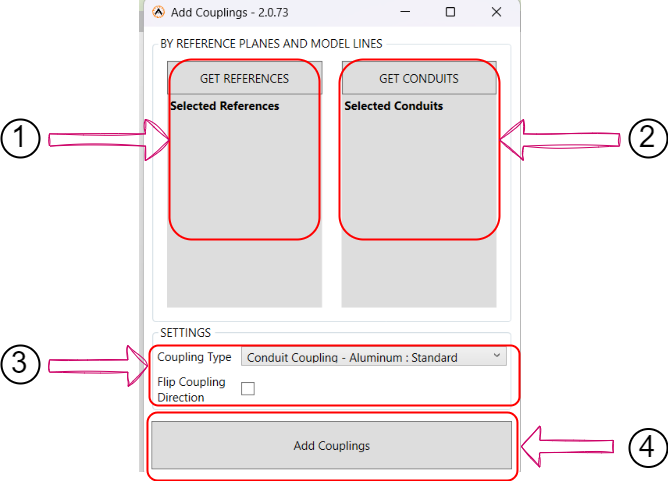
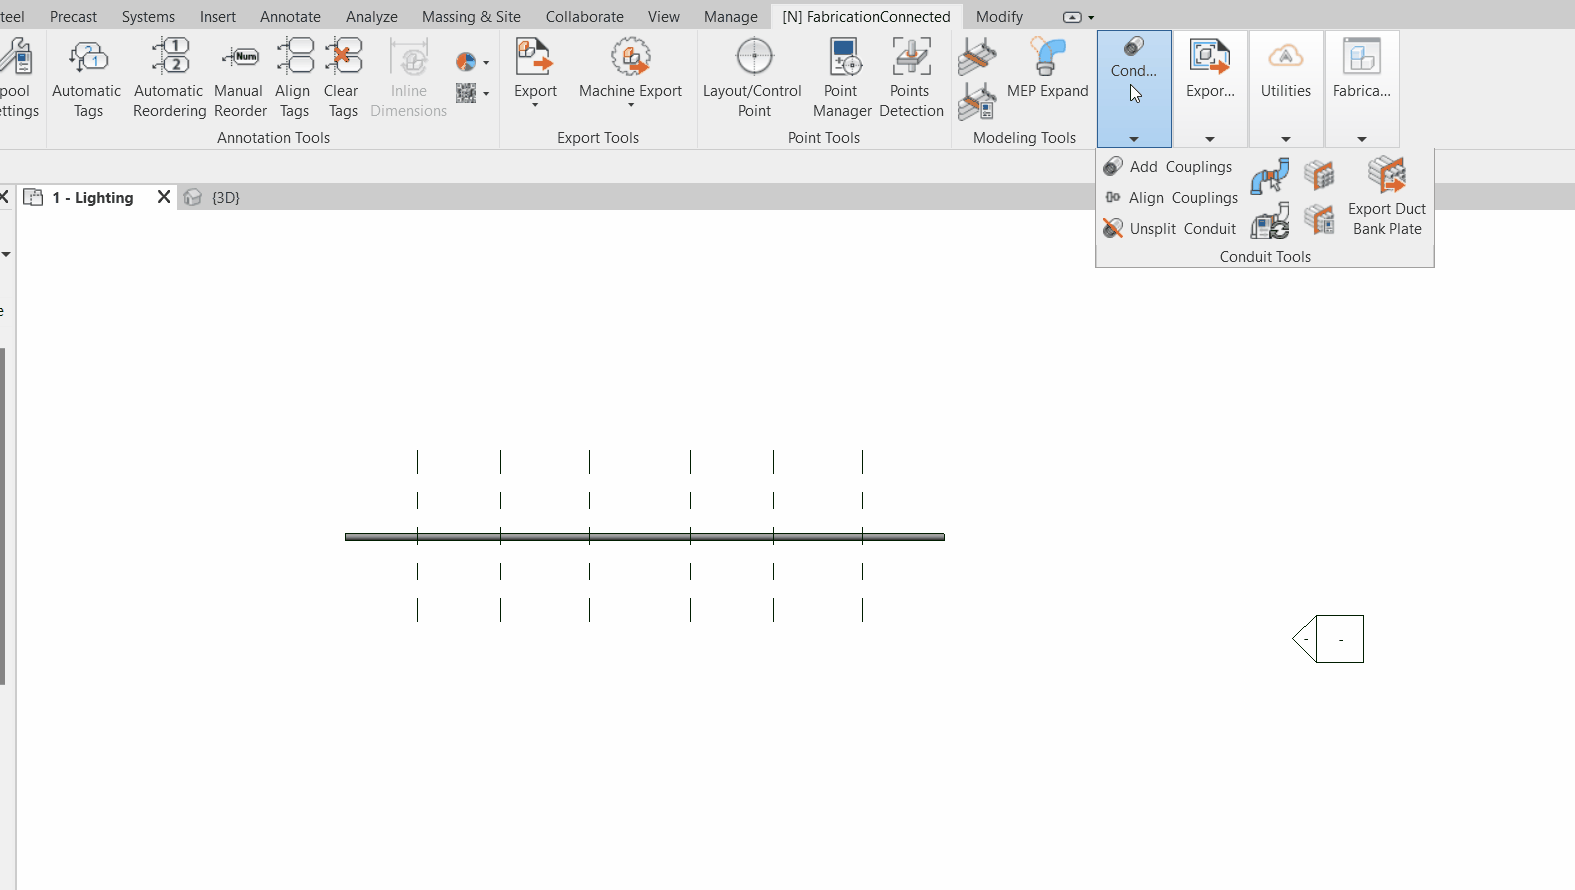
- Access "Add Couplings" Tool: Open the fabrication toolbar and click on the "Add Couplings" icon. A new window will open with the following options
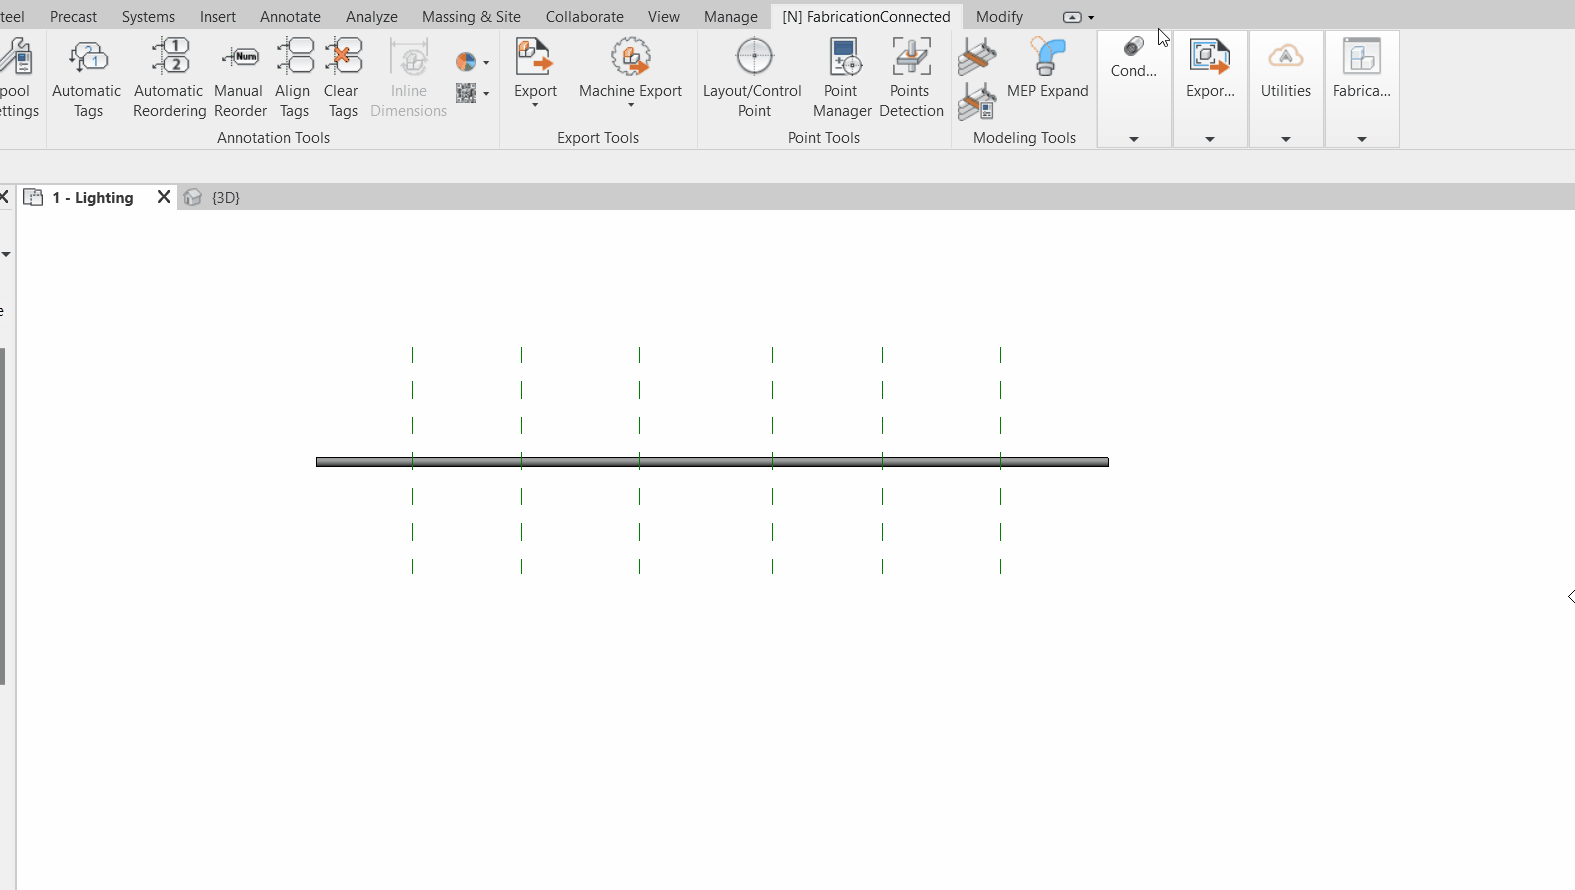
- Get References: First, select your reference from your project view. Then, click on the "Get References" button to load references from the project view. The selected references will appear as a list below the button.
- Get Conduits: First, select your conduit from the project view. Then, click on the "Get Conduit" button to load conduits from the project view. The selected conduits will appear as a list below the button.
- Coupling Settings: In this section, you can specify and choose the coupling type you want to place from the dropdown list. You can also indicate whether you want to flip the coupling direction by checking the checkbox.
- Add Couplings: Click on the "Add Couplings" button to apply the coupling settings to your project, it will take a short time to process. You will then see that the couplings have been added to your selected conduits.
Note: You have the option to use the "Flip Coupling Direction" feature, which will reverse the direction of the couplings. This can be particularly useful for ensuring that couplings are aligned correctly, as demonstrated in the accompanying gif.
Created with the Personal Edition of HelpNDoc: Write EPub books for the iPad